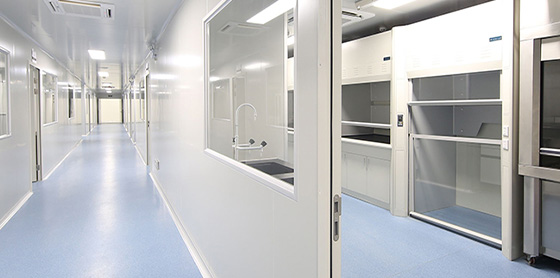
专业设计施工团队,量身定制净化工程方案
配备超高标准净化设备,设施齐全,制作精良
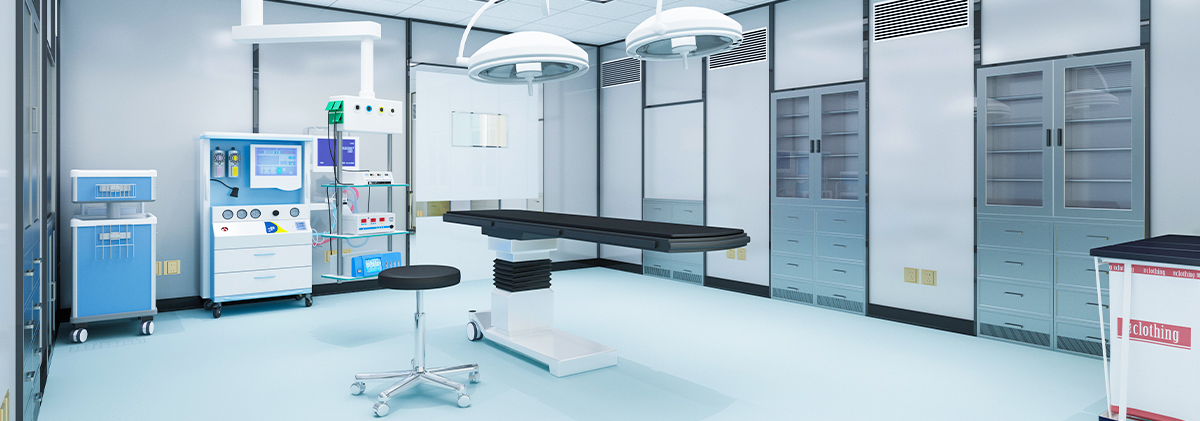
全国服务超过500家企业,专注净化解决方案
多年净化经验,上百成功案例,产品远销世界各国
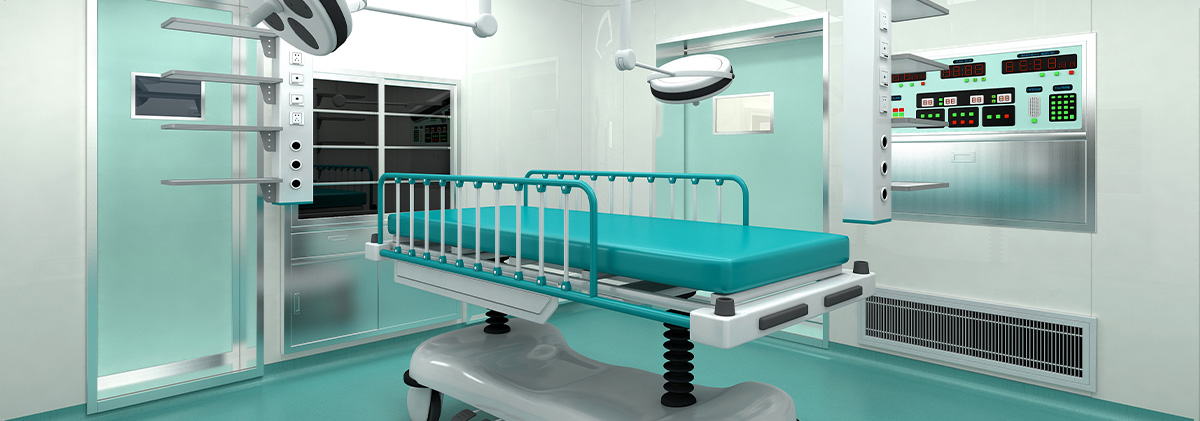
引进德国先进设备和技术,进口无菌室专用材料及配件
完备的标准化服务流程,确保工期和品质
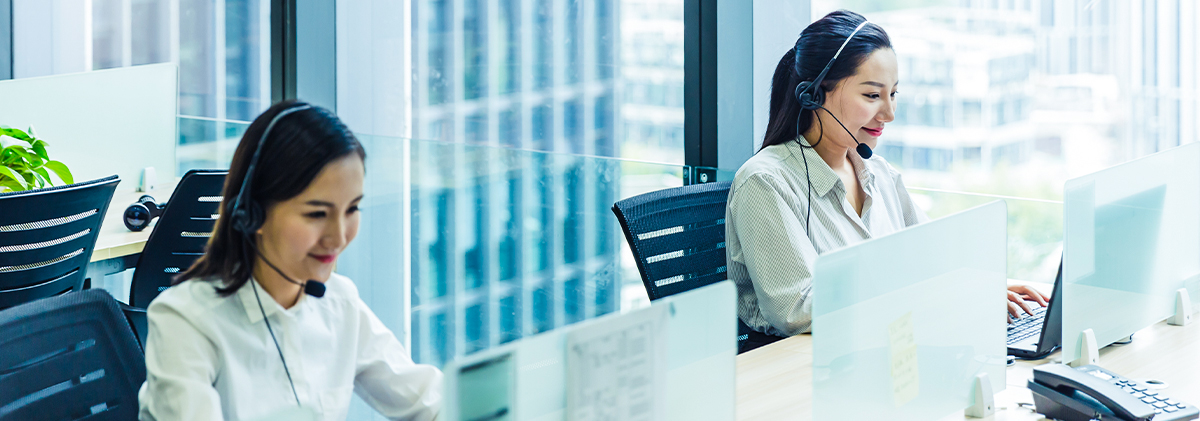
在线客服系统,让客户无后顾之忧
一对一售后服务,专业客服24小时在线

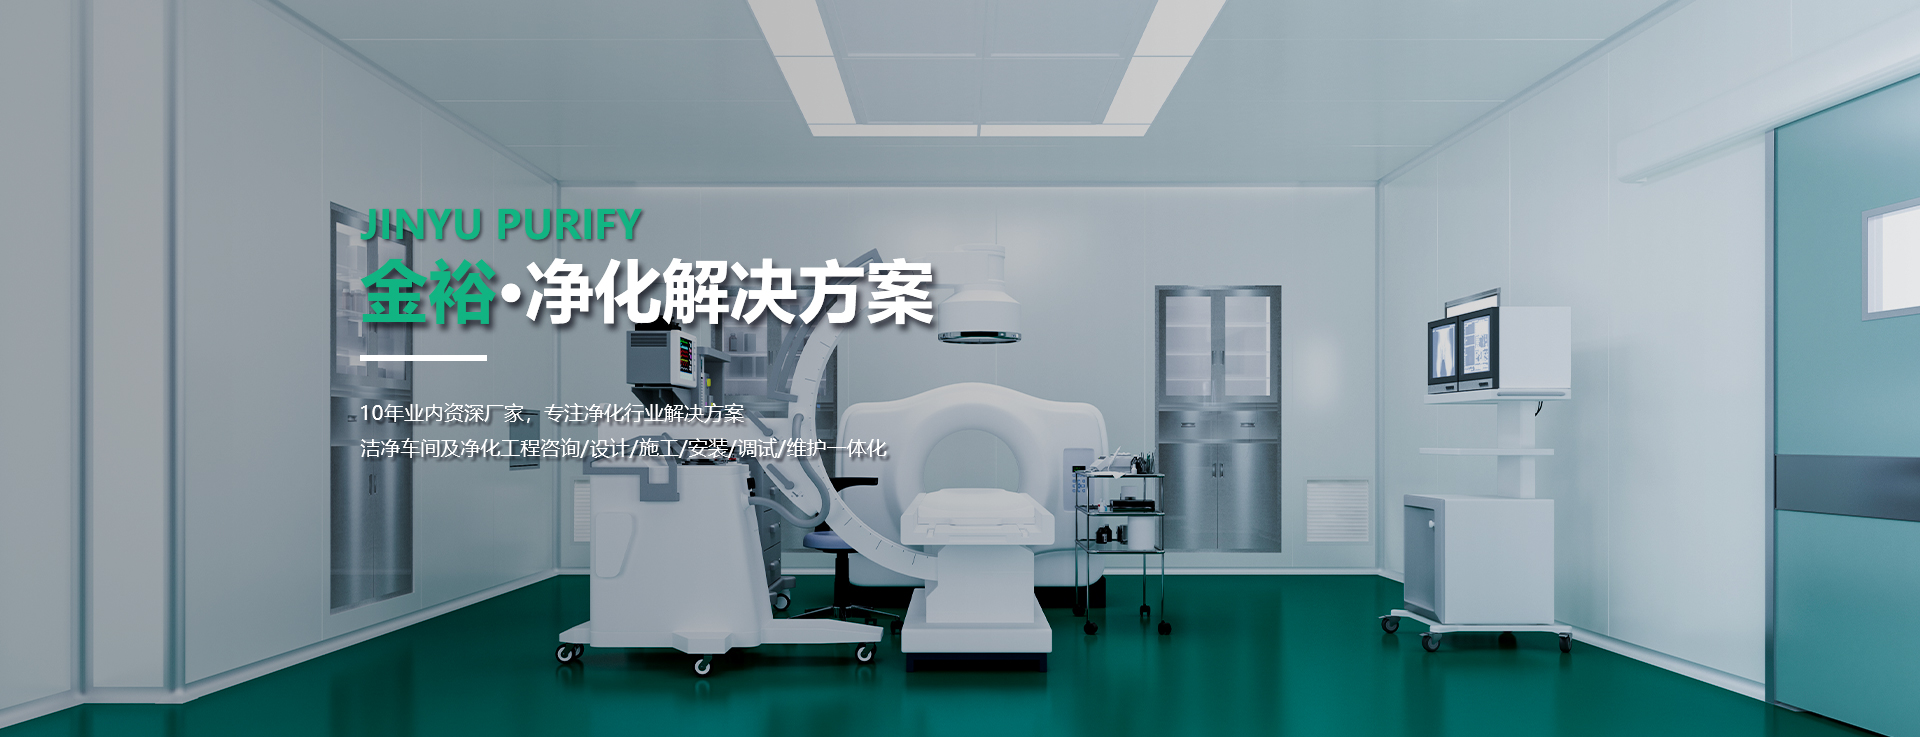
有限公司净化")
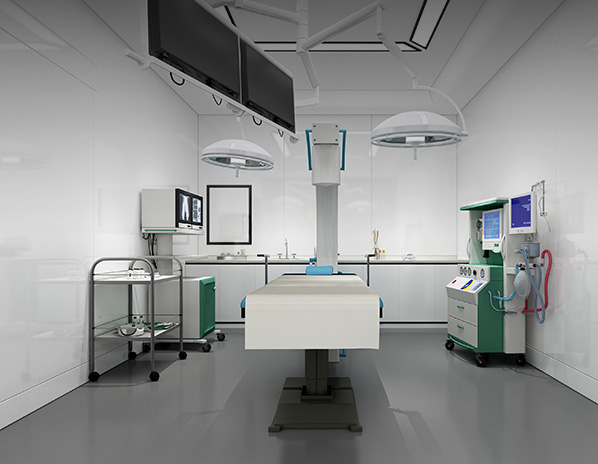
c7官网平台入口(中国)有限公司成立于 2017 年。经过几年的不 懈努力,公司已经发展成为设计、施工、安装、调试、工程维护为一 体的专业公司。自公司成立开始,积极开拓市场,各行业客户维系良 好,技术支持服务零差评,公司各项业务正在稳步增长。公司主营范围:PCR 核酸检测实验室、细胞实验室、疾病预防控制中心、GMP 制药企业、食品生产车间(SC c7官网平台入口(中国)有限公司)、工艺布局等。公司始终秉承“以人为基础,让科技服务于客户,为社会发展做 贡献”经营理念,全心全意的为客户创造更优质产品,提供满意的服 务。公司自成立以来,凭借自主创新的精神,开拓进去的科学管理, 立志发展成为全国更具竞争力的行业领导企业之一。
成立于2017年01月


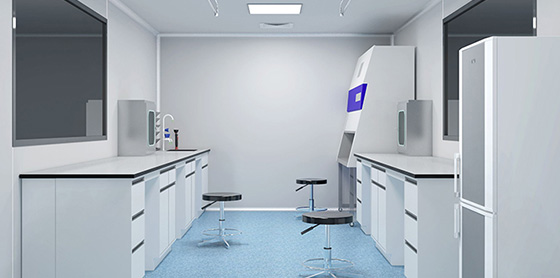
无尘车间的标准是什么无尘车间是一种高度洁净的生产环境,要求车间内部的空气和表面都处于一定的洁净程度,...
洁净室要设置风淋室是为什么呢洁净室要设置风淋室的主要目的是为了控制洁净室内的微粒和微生物的污染。风淋...
工作人员进入无尘车间施工要注意的事项进入无尘车间施工是一项非常严肃和专业的工作。无尘环境要求很高,需...